

Getting into the world of Ansible
Ever since I started exploring DevOps, I’ve always loved the idea of automating server setups with a single script. I have a strong interest for scaling web services to handle high traffic while ensuring stable uptime.
For a long time, the closest tool I've been aware of was Ansible. However, it always had a steep learning curve for me, and I didn't have much free time to invest in it. Plus, paying for extra servers just to tinker with felt a bit expensive, and I wasn't interested enough to mess with local virtualization.
Lately, thanks to AI tools, the barrier to entry for Ansible feels much lower. Getting explanations and answers to specific problems is so much easier now.
So, with my humble homelab setup, I decided to explore migrating my current apps and manage them with Ansible instead.
Getting Started and Early Retrospective
Not knowing where to begin, I asked Gemini to outline the basic topics I needed to understand. Grasping the core concepts of tasks, playbooks, vaults, variables, and inventories was straightforward. The overwhelming parts were modules, roles, and how to organize the files.
I understood the fundamental purpose of roles and how they manage complexity and reduce redundancy by packaging tasks into reusable components. However, it conflicted with my personal preference. Roles exponentially increased the complexity of my folder structure. As someone who likes to keep things simple and flat—much like C projects usually do—it was tricky for me to accept. So, I decided to skip roles for now and stick to a near flat structure.
Modules, on the other hand, are vast. I felt like I had to memorize dozens of them to get started, which felt restricting. Thankfully, most of what I needed fell under the ansible.builtin namespace, so I didn’t have to worry too much about third-party modules just yet.
Migrating Uptime Kuma for Testing
I have a mini-server at home and a VPS hosted in Hetzner. I call them my home node and cloud node, respectively.
I previously moved my Uptime Kuma instance to the cloud_nodes to ensure it actually stays up. It wouldn't be very useful if it crashed during a power or internet outage at home. Since Uptime Kuma is the simplest app in my stack, I decided to use it as the test subject for my Ansible migration.
Prerequisites
First, you need a master node. This is the workstation that reaches out and accesses your servers. In my case, I used my primary PC.
You also need to make sure you can SSH into those servers. Ideally, set up your SSH private keys to skip the hassle of typing or maintaining passwords. My servers and my workstation are all connected via Tailscale, which securely bridges the connections and makes routing incredibly simple.
Setting Up the Project
To start an Ansible project, you basically need four things: a configuration file (ansible.cfg), a list of your servers (inventory.yml), a main playbook to run tasks (site.yml), and the task files themselves.
First, I defined inventory.yml, which lists my actual servers. In its simplest form, it looks like this:
---
all:
  children:
    home_nodes:
      hosts:
        p1_server:
          ansible_host: <tailscale IP>
          ansible_user: jantolentino
    cloud_nodes:
      hosts:
        p2_server:
          ansible_host: <tailscale IP>
          ansible_user: jantolentino
Next, I created the ansible.cfg configuration file:
[defaults]
inventory = inventory.yml
host_key_checking = False
stdout_callback = default
result_format = yaml
roles_path = roles
gathering = smart
fact_caching = jsonfile
fact_caching_connection = /tmp/ansible_facts
fact_caching_timeout = 86400

[ssh_connection]
pipelining = True
I enabled pipelining to speed things up. It ensures that Ansible doesn't create a brand new SSH connection for every single task, which drastically lowers execution time. The other configurations mostly help with troubleshooting or caching.
With the foundation set, it was time to write the actual instructions. I started by creating my main entry point, site.yml:
---
- name: Build home infrastructure
  import_playbook: playbooks/home_infra.yml
Before migrating Uptime Kuma, I wanted to make sure my workstation could actually command the servers. So, I created a simple "ping" task under a tasks directory named ping.yml:
---
- name: Ping host to verify connectivity
  ansible.builtin.ping:
Finally, I tied it all together by creating a playbook specifically for the home_nodes to define what should execute on those servers in playbooks/home_nodes.yml:
---
- name: Manage home infrastructure apps
  hosts: home_nodes
  tasks:
    - name: Ping server
      ansible.builtin.include_tasks: ../tasks/ping.yml
Testing the Basics
To run the tasks, the command is:
ansible-playbook -i inventory.yml site.yml
This runs the ping task against all servers defined in the inventory. You can limit it to a specific group or node by adding the --limit flag, like this:
ansible-playbook -i inventory.yml site.yml --limit home_nodes
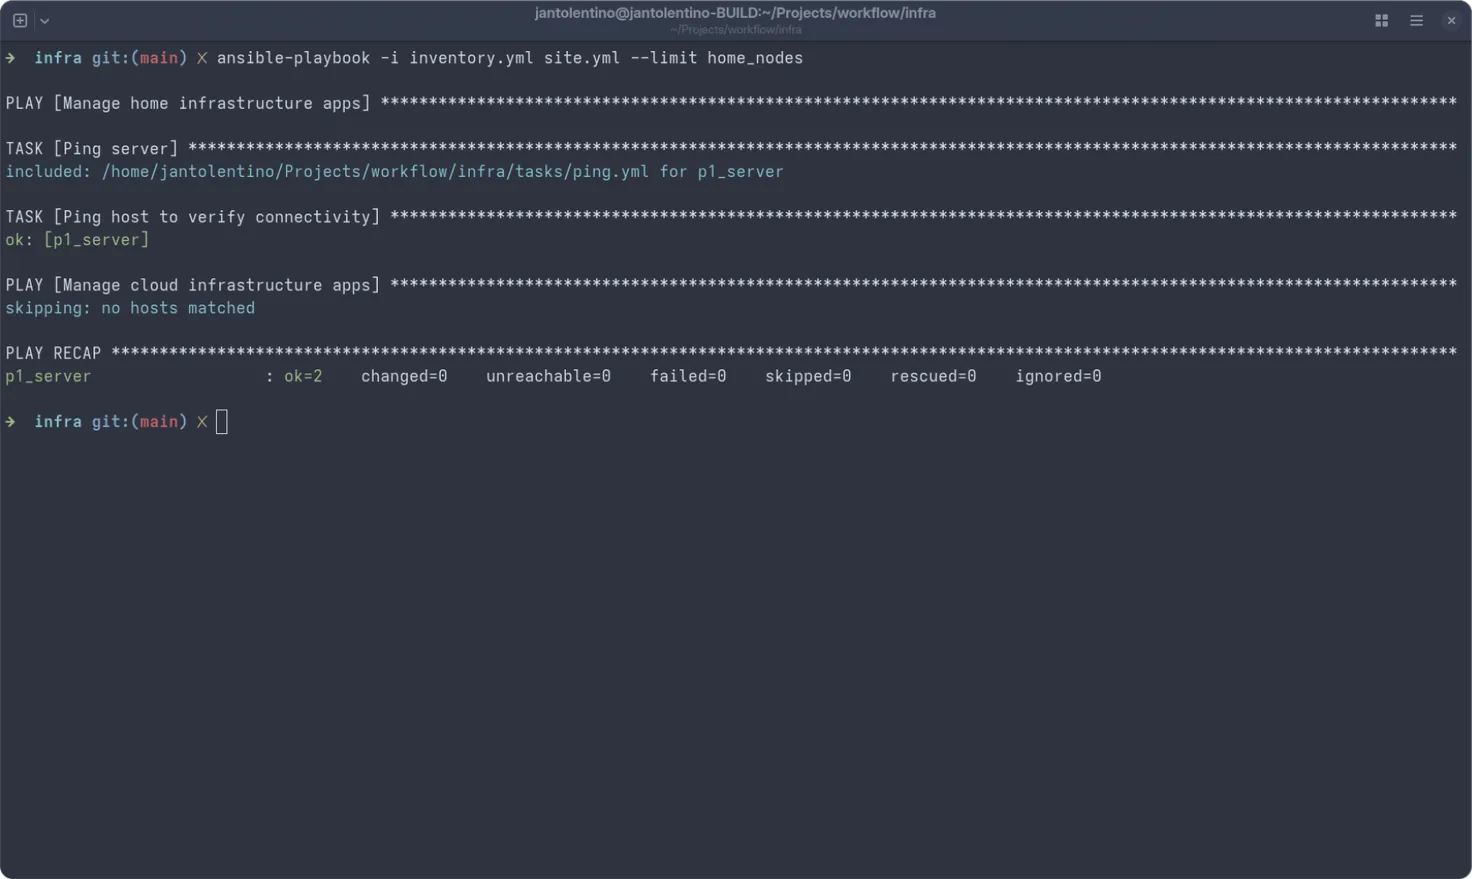 Running the ansible-playbook command to ping the server
The Migration Plan
Now for the actual migration. I wanted to add my Uptime Kuma instance to this setup.
Thankfully, I had previously deployed my apps using Podman Quadlets. This declarative approach made my Ansible migration plan much easier to execute. Note that Uptime Kuma was already running on the Hetzner server. My goal was simply to define its state in Ansible so I could manage it moving forward, not to destroy and recreate the instance.
Ansible should ensure the instance is configured correctly without causing data loss unless explicitly intended.
My task outline looked like this:
- Copy the Quadlet files to the server.
- Create the necessary application directories.
- Run a dry-run to ensure the Quadlet syntax is valid.
- Reload systemd to generate the service file.
- Start or restart the application service.
Here is what my quadlet_setup.yml roughly looks like:
---
# Assertions
- name: Ensure app_name is provided
  ansible.builtin.assert:
    that:
      - app_name is defined
    fail_msg: "Error: You must specify 'app_name' when including this task file."

- name: Enable user lingering
  ansible.builtin.command: "loginctl enable-linger {{ ansible_user }}"
  args:
    creates: "/var/lib/systemd/linger/{{ ansible_user }}"
  become: true
  tags:
    - setup

- name: Copy quadlet configuration files
  ansible.builtin.template:
    src: "../quadlets/{{ item }}"
    dest: "/home/{{ ansible_user }}/.config/containers/systemd/{{ item | basename }}"
    owner: "{{ ansible_user }}"
    group: "{{ ansible_user }}"
    mode: "0644"
  loop: "{{ quadlet_files | default([]) }}"
  register: quadlet_templates

- name: Dry-run Quadlet files to check syntax
  ansible.builtin.command:
    cmd: /usr/libexec/podman/quadlet -dryrun -user
  register: quadlet_check
  changed_when: false

- name: Ensure the application directory exists
  ansible.builtin.file:
    path: "{{ item }}"
    state: directory
    owner: "{{ ansible_user }}"
    group: "{{ ansible_user }}"
    mode: "0755"
  loop: "{{ app_directories | default([]) }}"
  tags:
    - setup

- name: Reload systemd (user) and start service
  ansible.builtin.systemd_service:
    name: "{{ app_name }}.service"
    state: started
    enabled: true
    daemon_reload: true
    scope: user
  become: true
  become_user: "{{ ansible_user }}"
  vars:
    ansible_become_flags: "-i"

- name: Restart service if configuration changed
  ansible.builtin.systemd_service:
    name: "{{ app_name }}.service"
    state: restarted
    scope: user
  become: true
  become_user: "{{ ansible_user }}"
  vars:
    ansible_become_flags: "-i"
  when: (quadlet_templates.changed | default(false)) or (app_config_changed | default(false))
Getting this right made me appreciate two specific Ansible features: tags and become.
Because I used tags, I can skip certain tasks. For example, I don’t need to enable user lingering every single time I run the playbook. I can just add --skip-tags setup to my command to save time. And whenever a task needed root privileges, become handled it perfectly. I just pass the -K flag when running the playbook so it prompts for my sudo password.
With all of that logic in place, I finally ran it. Naturally, there were a few issues to fix along the way, mostly typos in my container or network files. Running /usr/libexec/podman/quadlet -dryrun -user was the key for catching those errors early.
Ansible ad-hoc commands helped me check the system state, though sometimes just SSHing directly into the server was faster for debugging.
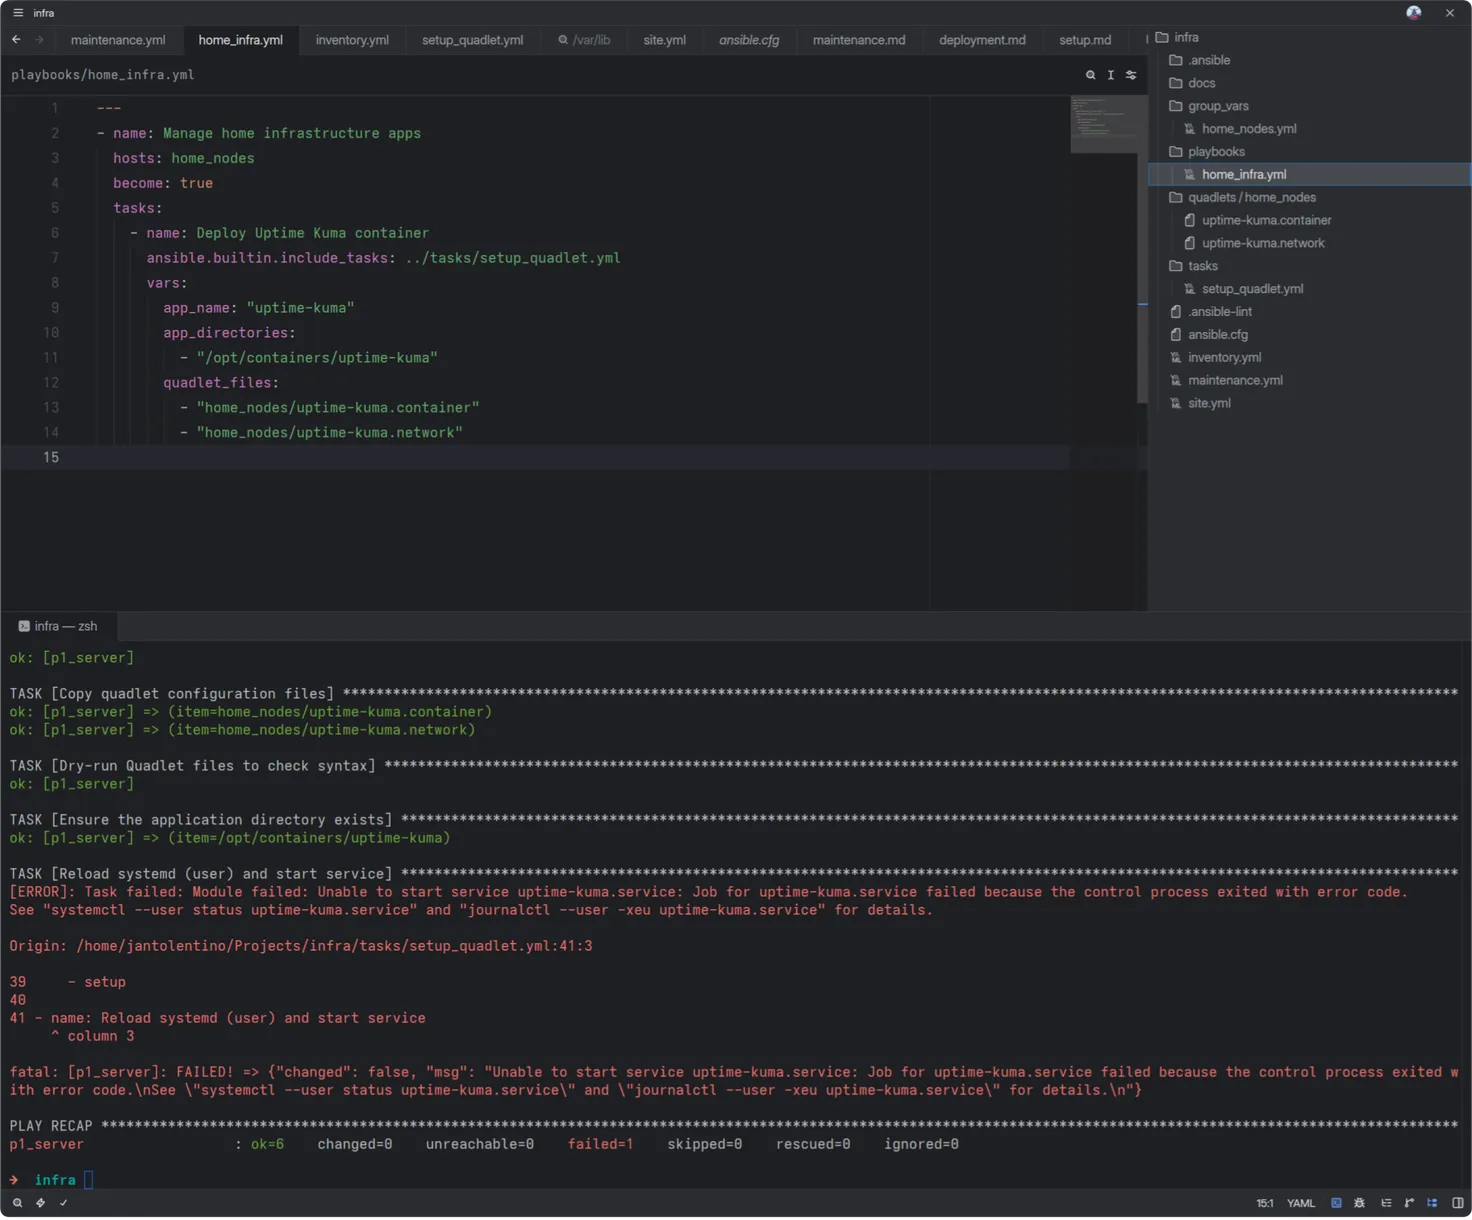 Running the ansible-playbook command with an error
Teardown: Decommissioning the App
I was also curious about how to cleanly destroy the instance if I ever needed to decommission it. I created a tasks/quadlet_remove.yml file:
---
# Assertions
- name: Ensure app_name is defined
  ansible.builtin.assert:
    that:
      - app_name is defined and app_name | length > 0
      - quadlet_files is defined and quadlet_files | length > 0
    fail_msg: "CRITICAL ERROR: 'app_name' and 'quadlet_files' must be provided."
    success_msg: "Check passed. Proceeding with the removal of {{ app_name }}."

# Teardown
- name: Stop and disable the systemd (user) service
  ansible.builtin.systemd_service:
    name: "{{ app_name }}.service"
    scope: user
    state: stopped
    enabled: false
  become: true
  become_user: "{{ ansible_user }}"
  vars:
    ansible_become_flags: "-i"
  failed_when: false

- name: Forcefully purge remaining active or broken container states
  ansible.builtin.command: "podman rm -f {{ app_name }}"
  changed_when: true
  failed_when: false

- name: Cleanup Quadlet definition files from systemd directory
  ansible.builtin.file:
    path: "/home/{{ ansible_user }}/.config/containers/systemd/{{ item | basename }}"
    state: absent
  loop: "{{ quadlet_files }}"

- name: Force systemd (user) daemon to reload and flush generated services
  ansible.builtin.systemd_service:
    daemon_reload: true
    scope: user
  become: true
  become_user: "{{ ansible_user }}"
  vars:
    ansible_become_flags: "-i"

- name: Permanently remove application storage directories from host
  ansible.builtin.file:
    path: "{{ item }}"
    state: absent
  loop: "{{ app_directories | default([]) }}"
  become: true
  tags:
    - destroy-data
To remove the app and clean up, I simply swap out quadlet_setup.yml for quadlet_remove.yml in my playbook.
Looking Forward
There are still a few things left to explore. I want to figure out how to autonomously back up application data and find a straightforward way to roll back deployments if something breaks. I plan to dedicate more time to that soon.
Also, as the project grows, I’ll likely have to bite the bullet and dive into roles and Ansible's Jinja2 template engine to keep things manageable.
But for now, I successfully brought Uptime Kuma under Ansible's control. Next up is migrating the rest of my apps. I currently manage my environment variables using Doppler, so getting Doppler tokens to securely pull variables into these servers via Ansible will be my next big hurdle.
Cheers!